Debian based riced up distribution for Developers and DevOps folks
post, Dec 3, 2021, on Mitja Felicijan's blog
Introduction
I have been using Ubuntu for quite a longtime now. I have
used Debian in the past and
Manjaro. Also had Arch for
some time and even ran Gentoo way back.
What I learned from all this is that I prefer running a bit older versions and
having them be stable than run bleeding edge rolling release. For that reason, I
stuck with Ubuntu for a couple of years now. I am also at a point in my life
where I just don't care what is cool or hip anymore. I just want a stable system
that doesn't get in my way.
During all this, I noticed that these distributions were getting very bloated
and a lot of software got included that I usually uninstall on fresh
installation. Maybe this is my OCD speaking, but why do I have to give fresh
installation min 1 GB of ram out of the box just to have a blank screen in front
of me? I get it, there are many things included in the distro to make my life
easier. I understand. But at this point I have a feeling that modern Linux
distributions are becoming similar to Node.js project with
node_modules.
Just a crazy number of packages serving very little or no purpose, just
supporting other software.
I felt I needed a fresh start. To start over with something minimal and clean.
Something that would put a little more joy into using a computer again.
For the first version, I wanted to target the following machines I have at home
that I want this thing to work on.
# My main stationary work machine
Resolution: 3840x1080 (Super Ultrawide Monitor 32:9)
CPU: Intel i7-8700 (12) @ 4.600GHz
GPU: AMD ATI Radeon RX 470/480/570/570X/580/580X/590
Memory: 32020MiB
# Thinkpad x220 for testing things and goofing around
Resolution: 1366x768
CPU: Intel i5-2520M (4) @ 3.200GHz
GPU: Intel 2nd Generation Core Processor Family
Memory: 15891MiB
How should I approach this?
I knew I wanted to use minimal Debian netinst for the base to give myself a head
start. No reason to go through changing the installer and also testing all that
behemoth of a thing. So, some sort of ricing was the only logical option to get
this thing of the grounds somewhat quickly.
What is ricing anyway?
The term “RICE” stands for Race Inspired Cosmetic Enhancement. A group of
people (could be one, idk) decided to see if they could tweak their own
distros like they/others did their cars. This gave rise to a community of
Linux/Unix enthusiasts trying to make their distros look cooler and better
than others... For more information, read this article
What in the world is ricing!?.
I didn't want this to just be a set of config files for theming purpose. I
wanted this to include a set of pre-installed tools and services that are being
used all the time by a modern developer. Theming is just a tiny part of it.
Fonts being applied across the distro and things like that.
First, I choose terminal installer and left it to load additional components.
Avoid using graphical installer in this case.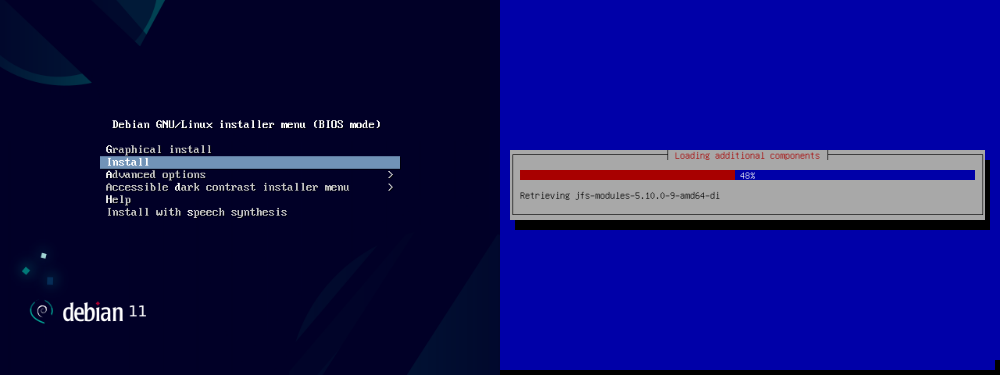
After that I selected hostname and created a normal user and set password for
that user and root user and choose guided mode for disk partitioning.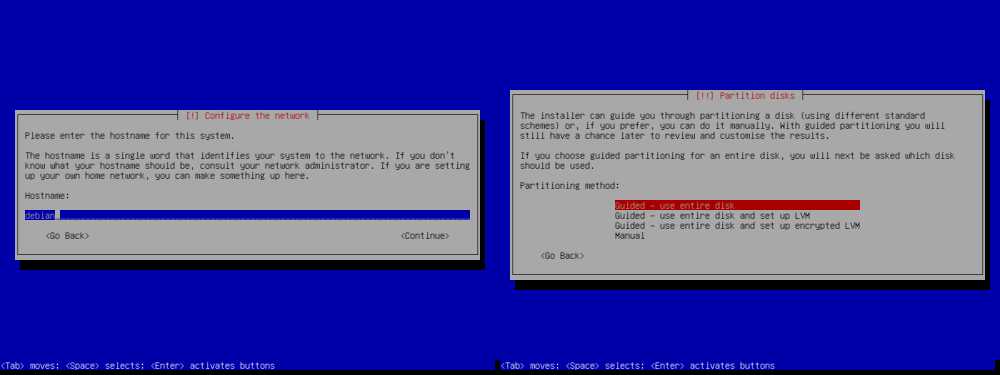
I left it run to install all the things required for the base system and opted
out of scanning additional media for use by the package manager. Those will be
downloaded from the internet during installation.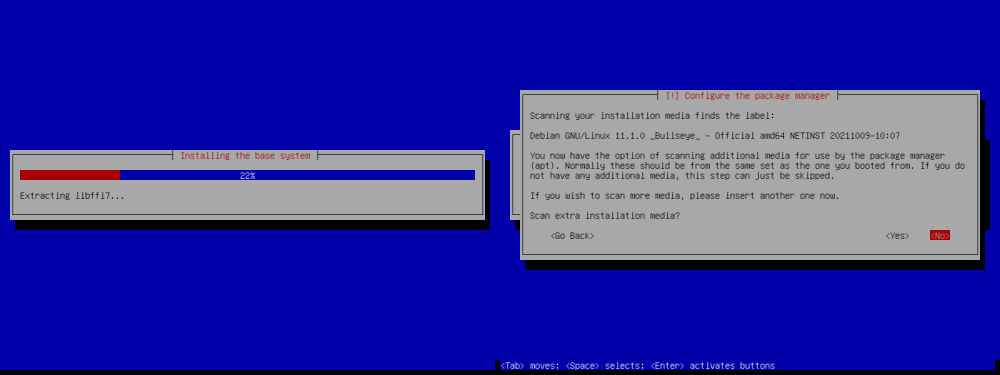
I opted out of the popularity contest, and now comes the important part.
Uncheck all the boxes in Software selection and only leave 'standard system
utilities'. I also left an SSH server, so I was able to log in to the machine
from my main PC.
At this point, I installed GRUB bootloader on the disk where I installed the
system.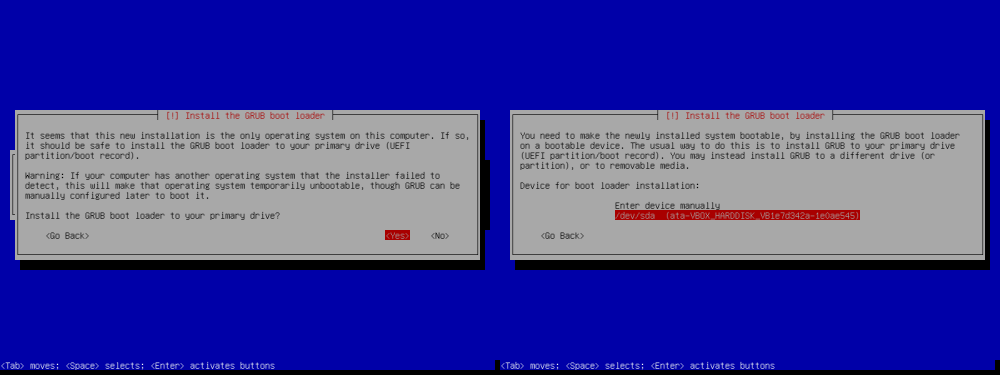
That concluded the installation of base Debian and after restarting the computer
I was prompted with the login screen.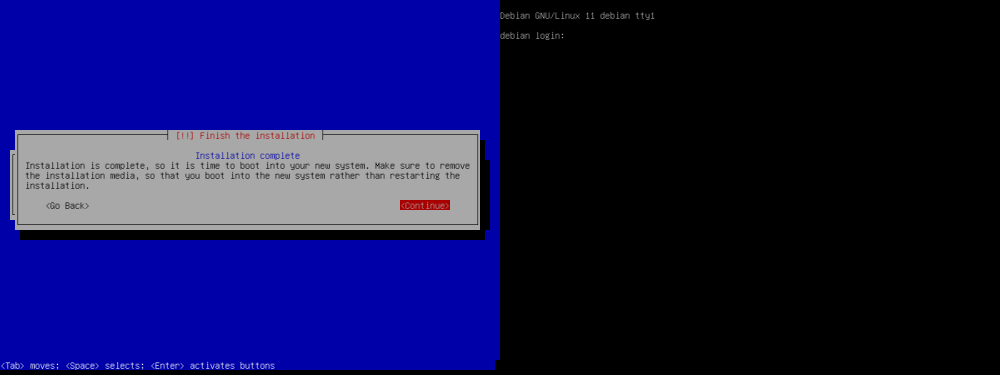
Now that I had the base installation, it was time to choose what software do I
want to include in this so-called distribution. I wanted out of the box
developer experience, so I had plenty to choose.
Let's not waste time and go through the list.
Desktop environments
I have been using Gnome for my whole Linux life. From
version 2 forward. It's been quite a ride. I hated version 3 when it came out
and replaced version 2. But I got used to it. And now with version 40+ they also
made couple of changes which I found both frustrating and presently surprised.
The amount of vertical space you loose because of the beefy title bars on
windows is ridiculous. And then in case of
Tilix you also have tabs, and you are
100px deep. Vertical space is one of the most important things for a
developer. The more real estate you have, the more code you can have in a
viewport.
But on the other hand, I still love how Gnome feels and looks. I gotta give them
that. They really are trying to make Gnome feel unified and modern.
Regardless of all the nice things Gnome has, I was looking at the tiling window
managers for some time, but never had the nerve to actually go with it. But now
was the ideal time to give it a go. No guts, no glory kind of a thing.
One of the requirements for me was easy custom layouts because I use a really
strange monitor with aspect ratio of 32:9. So relying on included layouts most
of them have is a non-starter.
What I was doing in Gnome was having windows in a layout like the diagram
below. This is my common practice. And if you look at it you can clearly see I
was replicating tiling window manager setup in Gnome.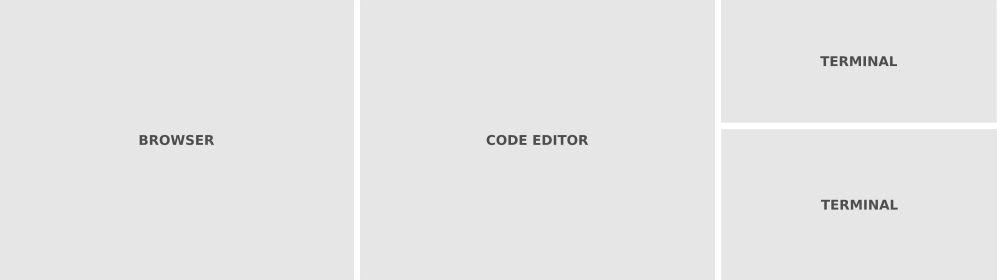
That made me look into a bunch of tiling window managers and then tested them
out. Candidates I was looking at were:
You can also check article 13 Best Tiling Window Managers for
Linux I was
referencing while testing them out.
While all of them provided what I needed, I liked i3 the most. What particular
caught my eye was the ease to use and tree based layouts which allows flexible
layouts. I know others can be set up also to have custom layouts other than
spiral, dwindle etc. I think i3 is a good entry-level window manager for
somebody like me.
Batteries included
The source for the whole thing is located on Github
https://github.com/mitjafelicijan/dfd-rice.
Currenly included:
non-free (enables non-free packages in apt)sudo (adds sudo and adds user to sudo group)essentials (gcc, htop, zip, curl, etc...)wifi (network manager nmtui)desktop (i3, dmenu, fonts, configurations)pulseaudio (pulseaudio with pavucontrol)code-editors (vim, micro, vscode)ohmybash (make bash pretty)file-managers (mc)git-ui (terminal git gui)meld (diff tool)profiling (kcachegrind, valgrind, strace, ltrace)browsers (brave, firefox, chromium)- programming languages:
pythongolangnodejsrustnimphpruby
docker (with docker-compose)ansible
Install script also allows you to install only specific packages (example for:
essentials ohmybash docker rust).
su - root \
    bash -c "$(wget -q https://raw.github.com/mitjafelicijan/dfd-rice/master/tools/install.sh -O -)" -- \
    essentials ohmybash docker rust
Currently, most of these recipes use what Debian and this is totally fine with
me since I never use bleeding edge features of a package. But if something major
would come to light, I will replace it with a possible compilation script or
something similar.
This is some of the output from the installation script.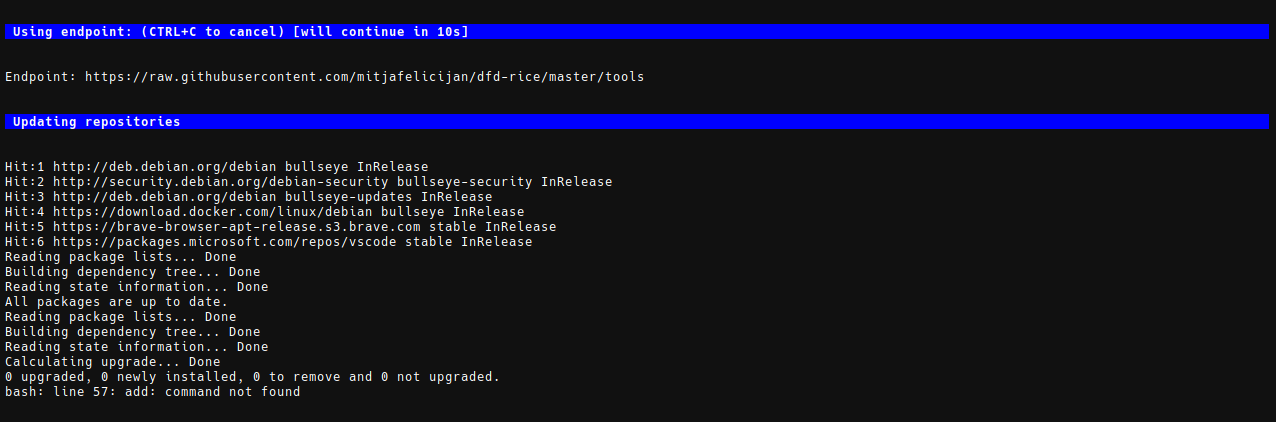
Let's take a look at some examples in the installation script.
Docker recipe
# docker
print_header "Installing Docker"
curl -fsSL https://download.docker.com/linux/debian/gpg | gpg --yes --dearmor -o /usr/share/keyrings/docker-archive-keyring.gpg
echo "deb [arch=$(dpkg --print-architecture) signed-by=/usr/share/keyrings/docker-archive-keyring.gpg] https://download.docker.com/linux/debian $(lsb_release -cs) stable" | tee /etc/apt/sources.list.d/docker.list > /dev/null
apt update
apt -y install docker-ce docker-ce-cli containerd.io docker-compose

systemctl start docker
systemctl enable docker
systemctl status docker --no-pager

/sbin/usermod -aG docker $USERNAME
Making bash pretty
I really like Oh My Zsh, but I don't like zsh shell. When
I used it, I constantly needed to be aware of it and running bash scripts was a
pain. So, I was really delighted when I found out that a version for bash
existed called Oh My Bash. Let's take a look at
the recipe for installing it.
# ohmybash
print_header "Enabling OhMyBash"
sudo -u $USERNAME sh -c "$(curl -fsSL https://raw.github.com/ohmybash/oh-my-bash/master/tools/install.sh)" &
T1=${!}
wait ${T1}
Because OhMyBash does exec bash at the end, this traps our script inside
another shell and our script cannot continue. For that reason, I executed this
in background. But that presents a new problem. Because this is executed in
background, we lose track of progress naturally. And that strange trick with
T1=${!} and wait ${T1} waits for the background process to finish before
continuing to another task in bash script.
Check Multi-Threaded Processing in Bash Scripts
for more details.
Conclusion
Take a look at
https://github.com/mitjafelicijan/dfd-rice/blob/develop/tools/install.sh script
to get familiar with it. This is just a first iteration and I will continue to
update it because I need this in my life.
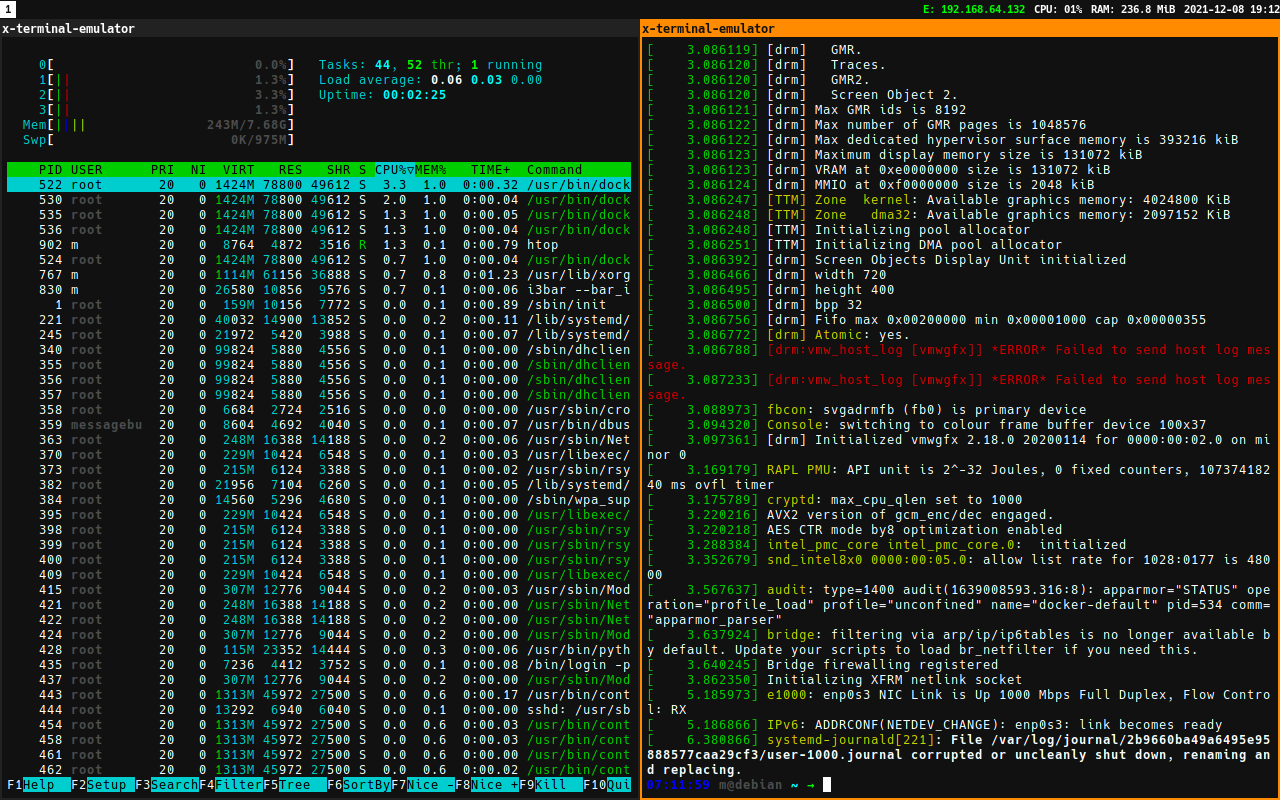
The current version boots in 4s to the login prompt, and after you log in, the
desktop environment loads in 2s. So, its fast, very fast. And on clean boot, I
measured ~230 MB of RAM usage.
And this is how it looks with two terminals side by side. I really like the
simplicity and clean interface. I will polish the colors and stuff like that,
but I really do like the results.